Remote Visualization
Overview
ARIS provides the capability to perform interactive visualization processing of your data. Two visualization servers provide high-end GPU rendering capabilities to enable the use of OpenGL and GPU accelerated graphic applications.
The user can run the visualization application on the ARIS nodes (where he has fast access to to the shared filesystem of ARIS) instead of their local desktop workstation without transferring any data locally.
Recommended client TurboVNC http://sourceforge.net/projects/turbovnc/
| Visualization nodes technical information | |
|---|---|
| Architecture | x86-64 |
| System | Dell PowerEdge 7910 |
| Total number of nodes | 2 |
| Components | |
| Processor Type | Ivy Bridge - Intel Xeon E5-2630v4 |
| Nominal Frequency [GHz] | 2.2 |
| Processors per Node | 2 |
| Cores per Processor | 10 |
| Cores per Node | 20 |
| Hyperthreading | OFF |
| Memory | |
| Memory per Node [GByte] | 256 |
| Graphic Accelerators | |
| Accelerator type | GPU - NVIDIA Quadro M5000 |
| Accelerators per node | 2 |
| Accelerator memory [GByte] | 8 |
Usage
Visualization service workflow:
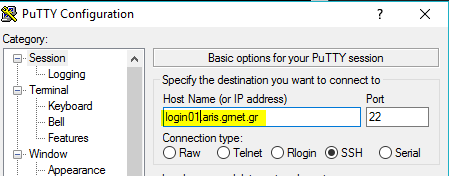
1. Connect to ARIS
Connect as usual to login.aris.grnet.gr (Login to ARIS)
Note the physical hostname you are connected (for example login01.aris.grnet.gr)
$ hostname
$ uname -n

login01
2. Create a VNC password.
It is needed only once, before the first use of visualization service
$ mkdir -p $HOME/.vnc/

$ /opt/TurboVNC/bin/vncpasswd
Password:
Verify:
Would you like to enter a view-only password (y/n)? n
The password must be at least six characters long and only the first eight characters are significant.
3. Start the VNC server on the login node :
$ /opt/TurboVNC/bin/vncserver

Desktop 'TurboVNC: login01:1 (username)' started on display login01:1

Creating default startup script $HOME/.vnc/xstartup.turbovnc
Starting applications specified in
$HOME/.vnc/xstartup.turbovnc
Log file is $HOME/.vnc/login01:1.log
Note the port that is assigned to your VNC session and the assigned display.
You can extract that information from the VNC log file $HOME/.vnc/login01:1.log (output of the vncserver
command)
$ grep -E "VNC.*port" $HOME/.vnc/login01:1.log

21/12/2016 12:48:33 Listening for VNC connections on TCP port 5901
Typical values are 5901 and login01:1, port may change depending on
the active VNC sessions on login node, but it is 5901 or higher 5902 etc.
If you are connected to login01, and your session assigned display :2,
the port info is logged in file $HOME/.vnc/login01:2.log
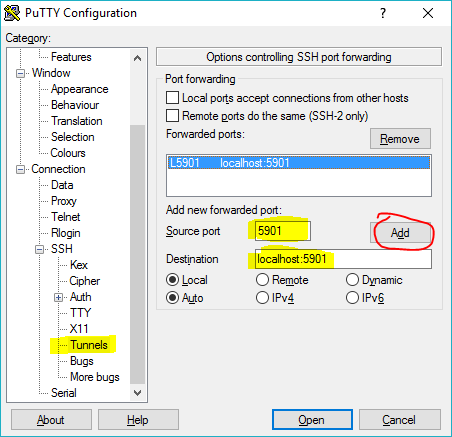
4. Create an ssh tunnel from your PC to the VNC server :
Linux/MAC OS/*IX :
ssh -i PATH_TO_YOUR_PRIVATE_KEY username@hostname.aris.grnet.gr -L 5901:localhost:5901

      You should use :
              hostname : <login01>,<login02> set the hostname your are connected to from step 1.
              username : your username on ARIS
              5901     : The port number assigned to your VNC session
              PATH_TO_PRIVATE_KEY: The path to you private `id.rsa` key
Windows
Putty
Set the hostname you are connected from step 1.
Configure the tunnel port assigned to your VNC session (from step 3)
Connection -> SSH -> Tunnels
Click Add button
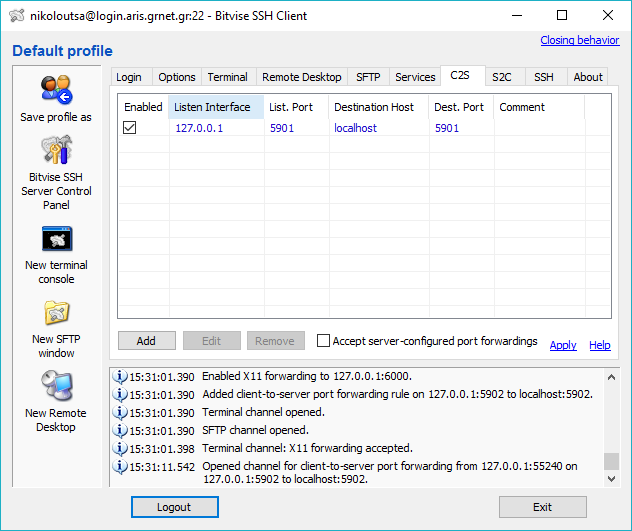
Bitvise
Set the hostname you are connected from step 1.
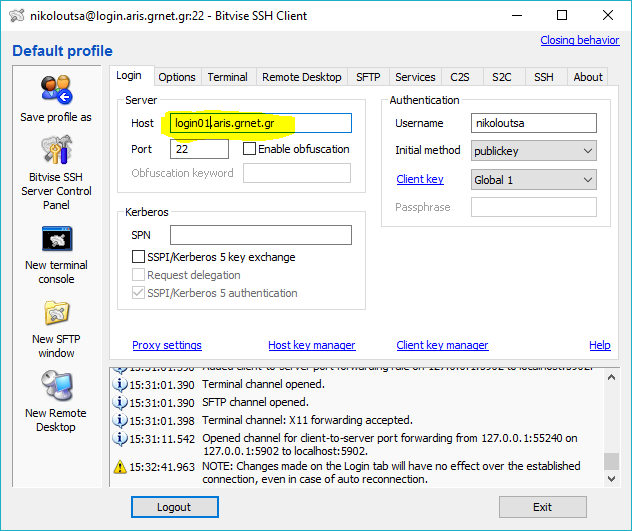
Configure the tunnel port assigned to your VNC session (from step 3)
C2S Tab -> Add
Click Add button
5. If vncviewer is not installed on your PC install it.
TurboVNC http://sourceforge.net/projects/turbovnc/
6. Run TurboVNC Viewer from your PC.
On your Linux/MAC/*IX :
$ vncviewer localhost:5901
On Windows run turbovnc client
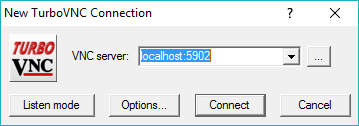
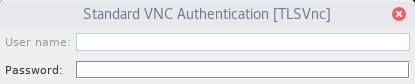
At this point, you should type the VNC password created in step 1.
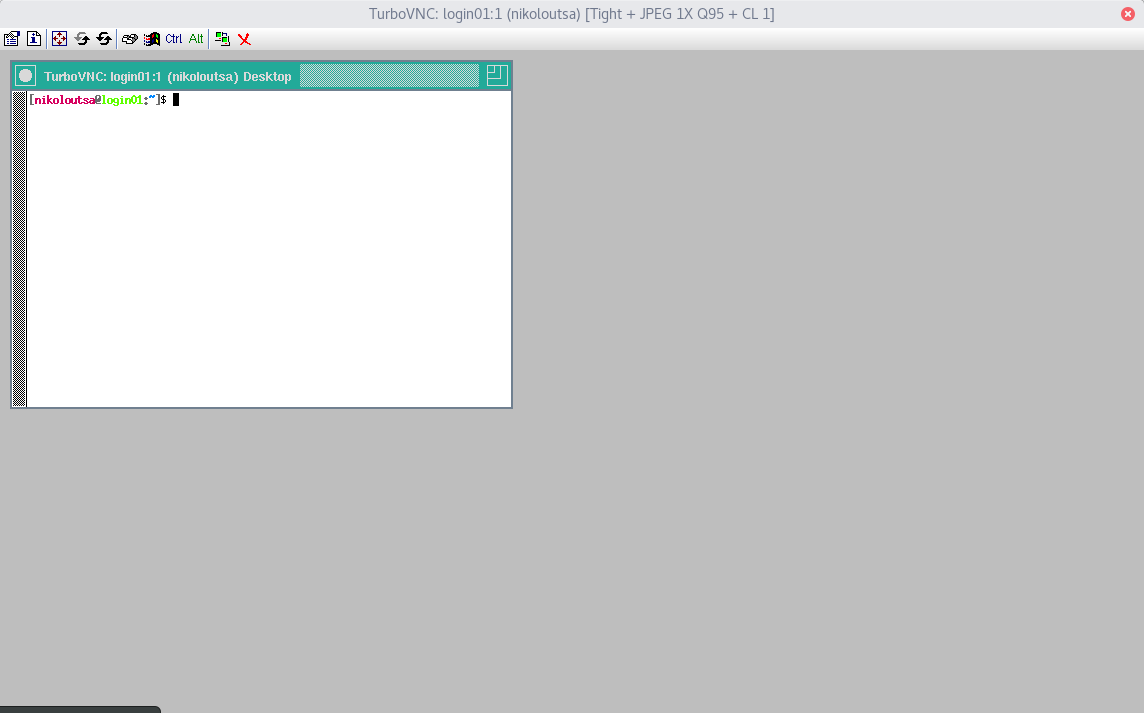
After this you’ll see a very minimal VNC session on login node with just a terminal.
7. Access the visualization node.
Create a slurm job file viz.slurm to submit in SLURM that will reserve vizualization resources : node, CPU cores, GPU(s).
This is a typical SLURM script similar to those you use to run your applications, with the following modifications
#!/bin/bash -l
####################################
#        Visualization Job         #
####################################
#SBATCH --job-name=visualization # Job name
#SBATCH --output=visualization.%j.out # Stdout (%j expands to jobId)
#SBATCH --error=visualization.%j.err # Stderr (%j expands to jobId)
#SBATCH --partition=viz # instead of compute
#SBATCH --gres=gpu:1 # to reserve 1 of the 2 available gpus
#SBATCH --nodes=1    # to reserve 1 node
#SBATCH --ntasks=10  # to reserve half of cpu cores that correspong to # 1 of the 2 available gpus
#SBATCH --time=01:00:00 # Walltime
#SBATCH --account=pr0000 # Accounting project

export GEOMETRY=1024x768
startviz
The command you should execute in your SLURM script is : startviz
i.e. instead of the usual srun EXE args the you use in computational jobs issue only : startviz
The default desktop geometry is 1024x768 If you like to change the geometry issue in SLURM script just before startviz
export GEOMETRY=2048x1280
to use a 20148x1280 desktop geometry
From any terminal submit the SLURM script to visualization partition.
$ sbatch viz.slurm
Check your stdout file visualization.out
$ cat visualization.out
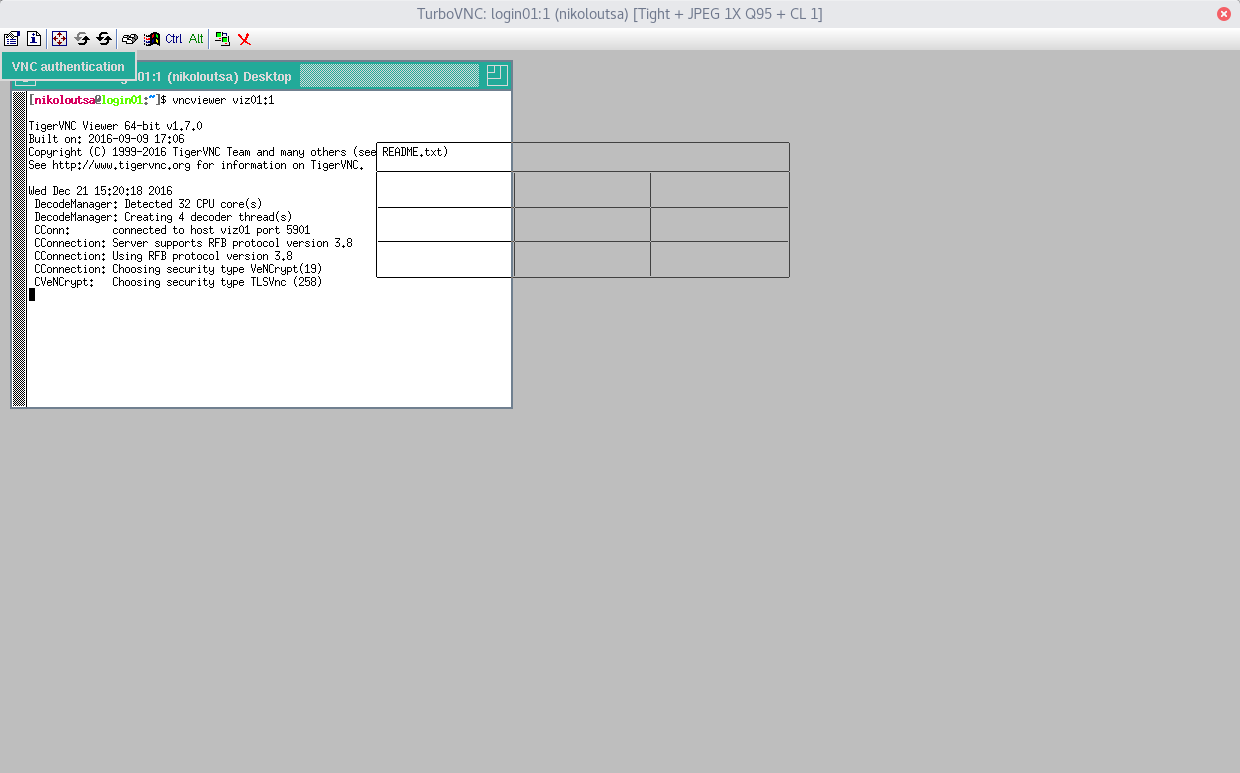
To connect use : vncviewer viz01:1
8. VNC Session
From the VNC session terminal created in step 3 issue the command that is reported in the job output file visualization.out i.e. something like
vncviewer viz01:1
You’ll see an almost complete gnome desktop on the vizualization node assigned to your job. (If you dont see it click inside the window)
Disable your Gnome session screensaver
It is needed only once
Please disable the gnome session screensaver or the screen will get locked.
gconftool-2 --type bool --set /apps/gnome-screensaver/lock_enabled false
9. Run Visualization Software
From this desktop you can run your vizualization software using vglrun
For example, if you use paraview :
    ```
    module load paraview
    vglrun paraview.
    ```
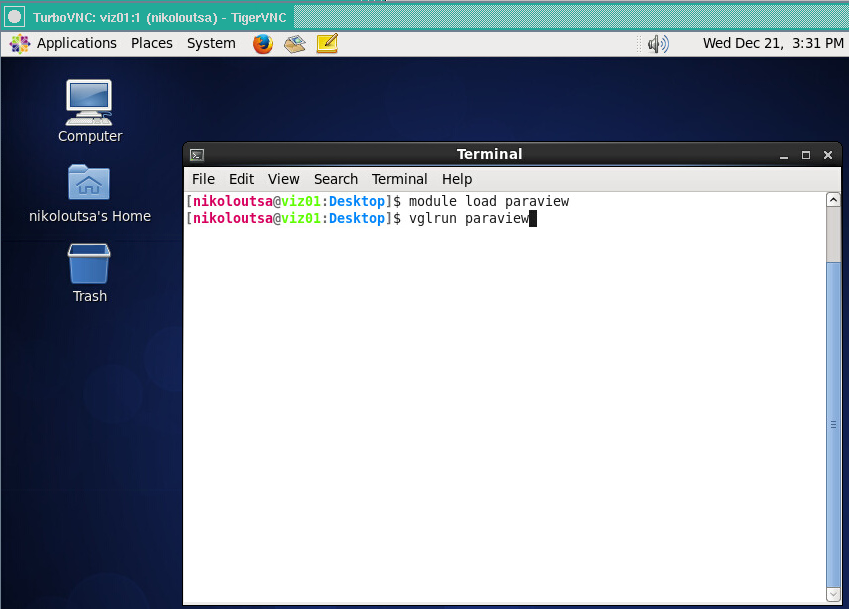
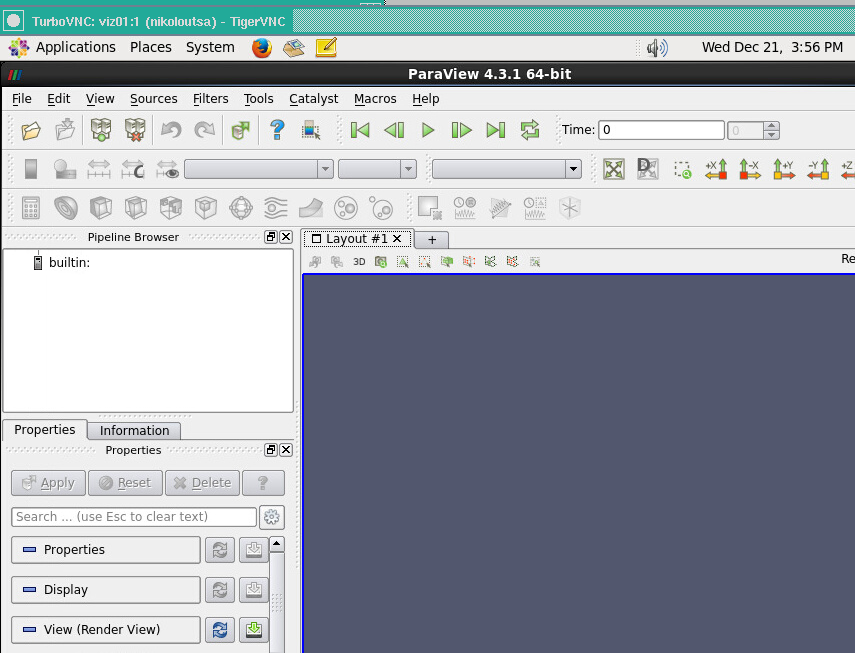
Your vizualization software will use the resources assigned to your job.
It is crucial to start all visualization software with the vglrun command.
Without vglrun software will not start.
10. End Visualization
Logout
Logout
After visualization, you should logout from your gnome desktop. If you ommit this step, the desktop will remain active for the period requested in your SLURM script.

if you ask 6 hours in your visualization job, and forget to logout from gnome desktop, your session will be terminated automatically 6 hours after job start. The use of visualization partition consumes core hours from your budget. Don’t forget to logout to avoid reserving resources and consuming core hours doing nothing.
Stop VNC server on login node
When you finish your visualization activities do not forget to stop the minimal VNC server on login node :
On the login node issue :
$ /opt/TurboVNC/bin/vncserver -list

TurboVNC server sessions:

X DISPLAY # PROCESS ID
:1    25400
To stop this session issue :
/opt/TurboVNC/bin/vncserver -kill :1